Azure Marketplace setup
This page describes how to run Stardog from the Azure Marketplace.
Page Contents
Requirements
To launch Stardog from the Azure Marketplace, make sure you have an Azure Account, and you have the following permissions:
- VM Instance
- VNET
- Resource Group
You will also need an SSH key created before you want to deploy Stardog.
Setup
Step 1: Subscribe to Stardog Enterprise Knowledge Graph Platform
Look for Stardog in the Azure marketplace. You can get this directly by following this link. Click on Get It Now.
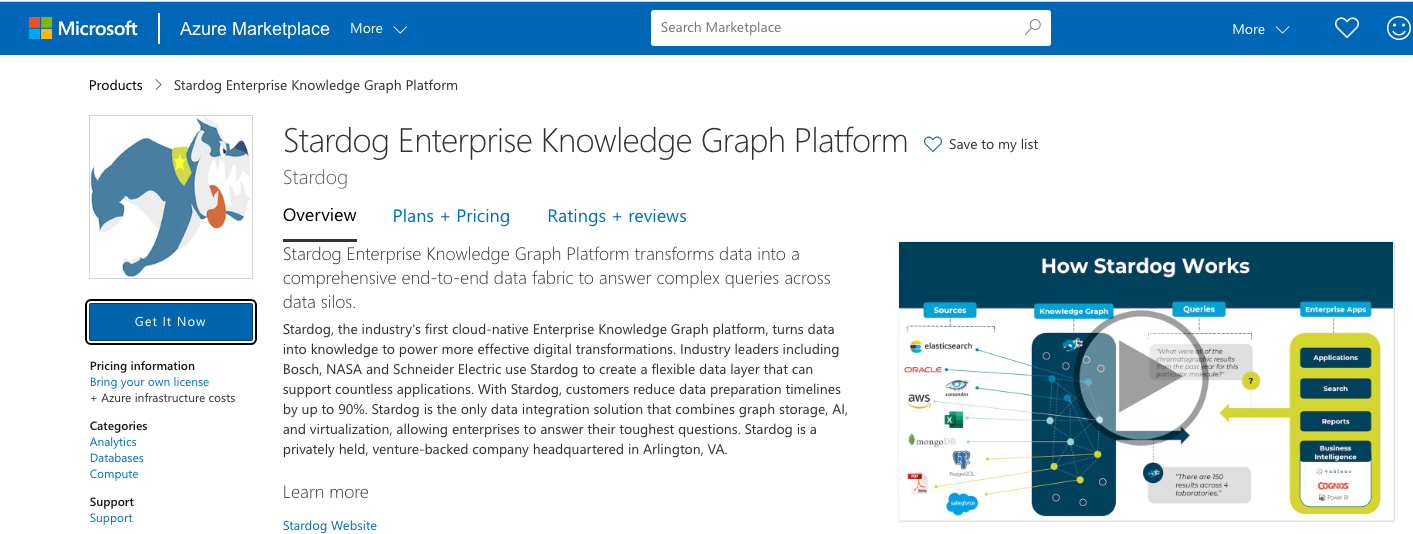
Accept the terms and then continue to the configuration. If you are not logged in, you will be prompted to log in to Azure.
Step 2: Configure Stardog Virtual Machine
Next, Select Stardog Server BYOL Plan and click on Create.
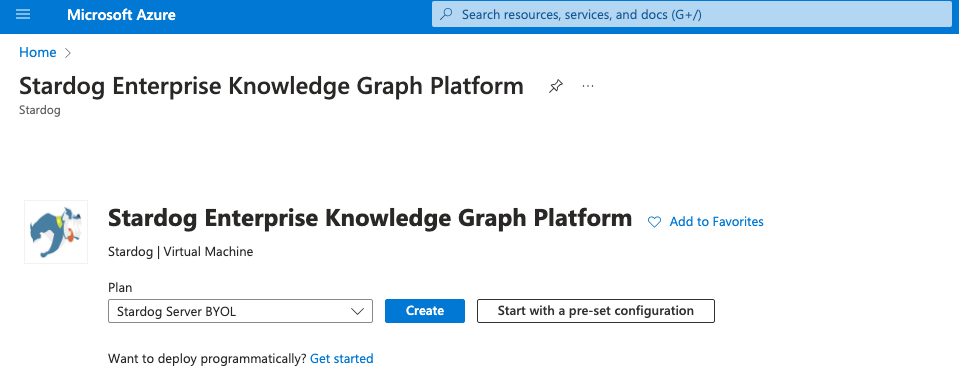
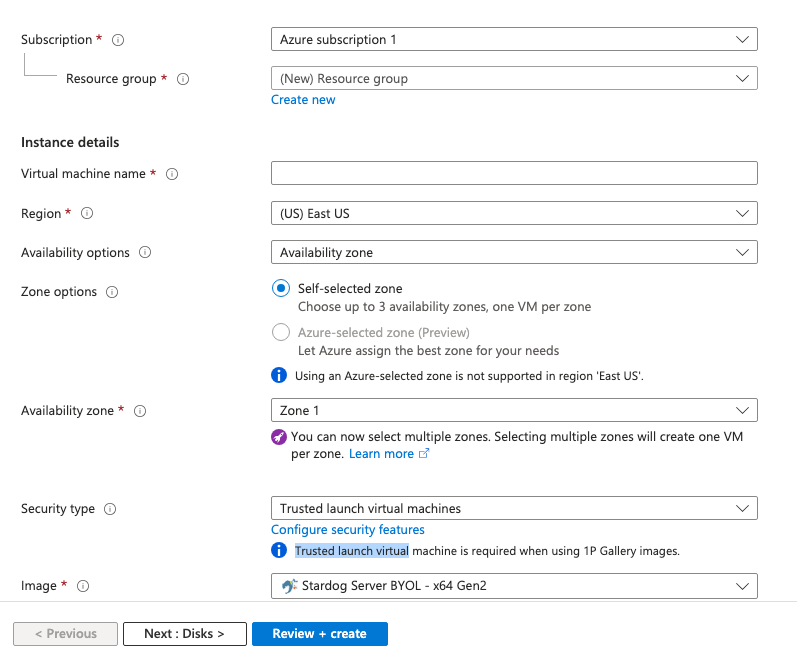
- Virtual Machine Details
- Choose the Resource Group where you want to deploy the VM or choose create new from Resource Group options.
- Enter Virtual Machine Details, such as Virtual Machine Name, Availability Zone, Instance type, and size, as per your needs.
- Please configure the user account using the username and SSH Public Key. You can use this user account later to ssh into the virtual machine to configure the Stardog.
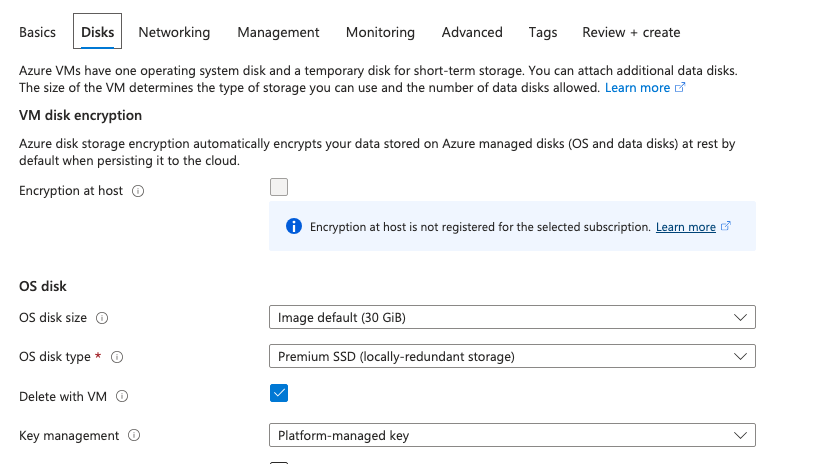
- Disk Details
Configure the Disk per your needs. (Recommended is 30GB)
- Networking
- Configure the Network per your needs for e.g. Virtual Network, Subnet, PublicIP and other network related settings.
- If you wish to access the Stardog instance outside the Virtual Network, for example, Stardog Cloud Portal, make sure to configure a public IP.
- Make sure to configure the Network Security Group Inbound Security Rules for the Stardog Server. By default, Stardog runs on port 5820.
- Configure the Network Security Group Inbound Security Rules for SSH access for management purposes.
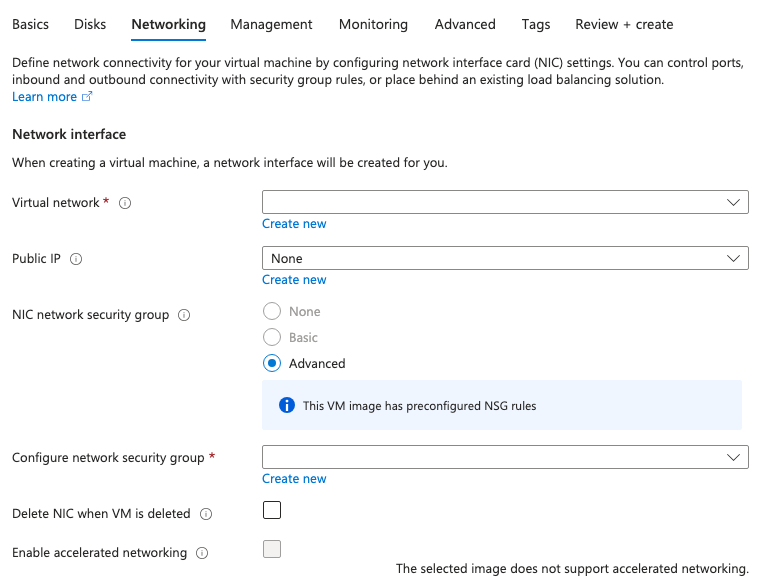
-
Optional
Configure settings like Management,Monitoring and other available settings, if required. -
Provision Instance
- Click on the Review and Create Button.
- Review your settings and click on Create.
- As soon as you click on Create, you will see the status of the deployment in the upper right corner of the Azure Portal
- Once deployed, you will see a message, i.e. deployment is complete.
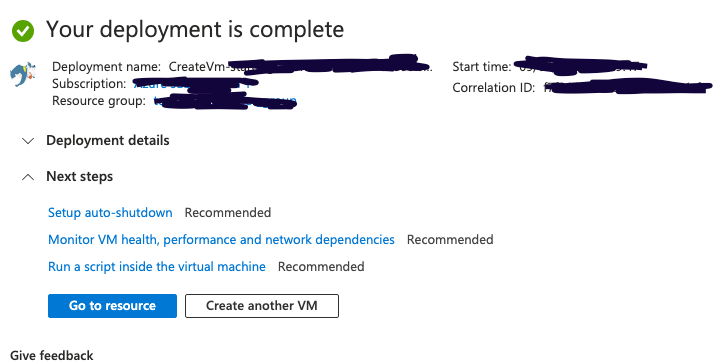
Step 3: Configuring Stardog
- Verify Installation
Stardog is installed at /opt/stardog. You can get into the machine by running:
ssh -i path/to/private-key/stardog-marketplace.pem azureuser@<public ip>
and verify the installation by running:
cd /opt/stardog/bin
./stardog-admin server start
You should get an error A valid Stardog license was not found in /opt/stardog/bin. Please copy your license file to this location or contact sales at https://www.stardog.com to acquire a new license.
- Copying License
Copy your stardog license by running:
scp -i path/to/private-key/stardog-marketplace.pem path/to/stardog-license/stardog-license-key.bin azureuser@<public ip>:/opt/stardog/bin
- Starting the Stardog Server
You should be able to run the stardog server by running:
./stardog-admin server start
- You should change the default password for the admin account by running
./stardog-admin user passwd --new-password "$ADMIN_PASS"
or
./stardog-admin --server https://stardog_endpoint:5820 user passwd admin -p <<default-password>>
-
To secure the communication between clients and Stardog server, please follow this link
-
In case of self-signed certificate please add the .crt to your browser.
-
For Stardog usage, refer to the docs